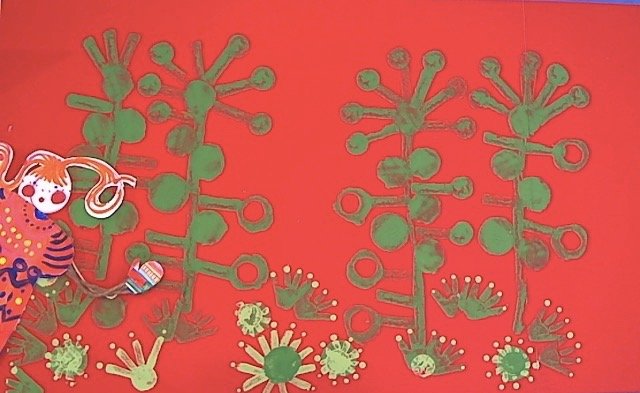
POTATO PRINT LANDSCAPE
MATERIALS:
Paper: Construction paper or Bristol board of different colours, smaller sizes for testing (8.5X11) and larger paper for the final print (you can put 2 11X17 papers together to make a larger one or 22X24 or so works great!)
Paint: Tempera or acrylic paint. If you have tempera make sure it is higher density, watery weak tempera won’t work so well
Potatoes of different sizes. I used 1 large medium and 2 medium smalls
First, a little introduction.
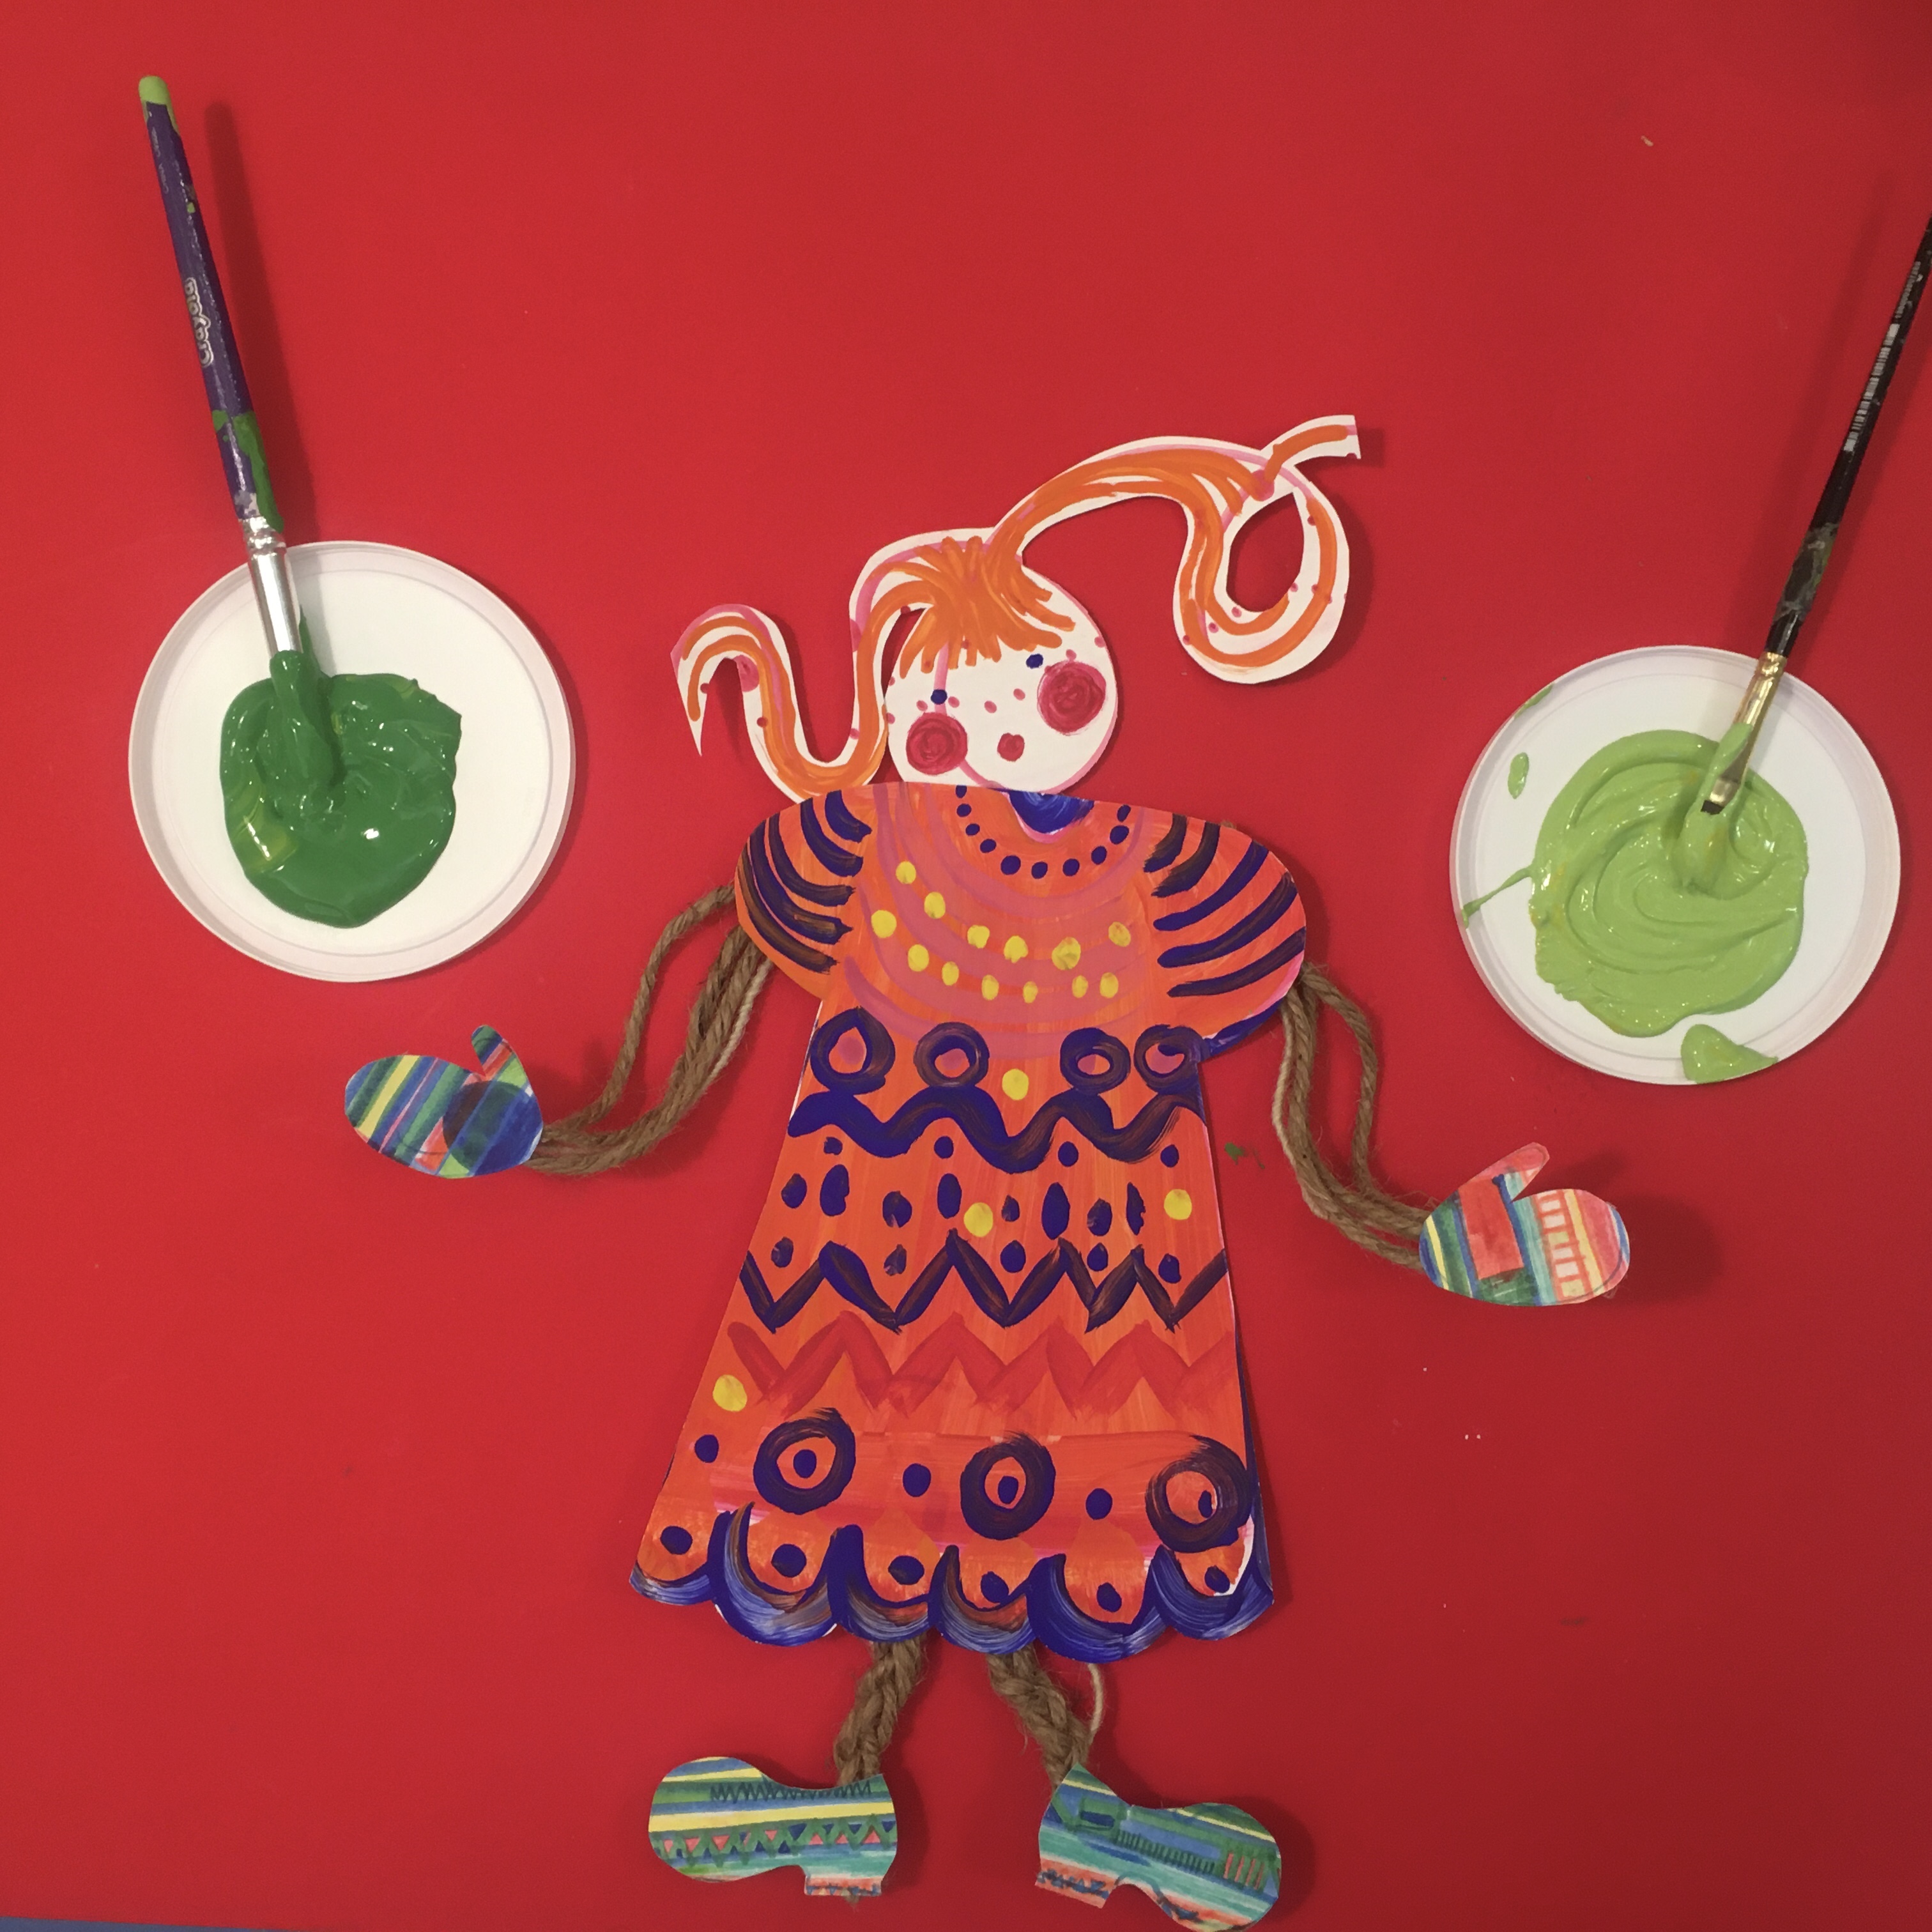
Megan (3) and her mom tried My Favourite Clothes Project and ended up with this brilliant, wonderful, fun solution, a puppet!
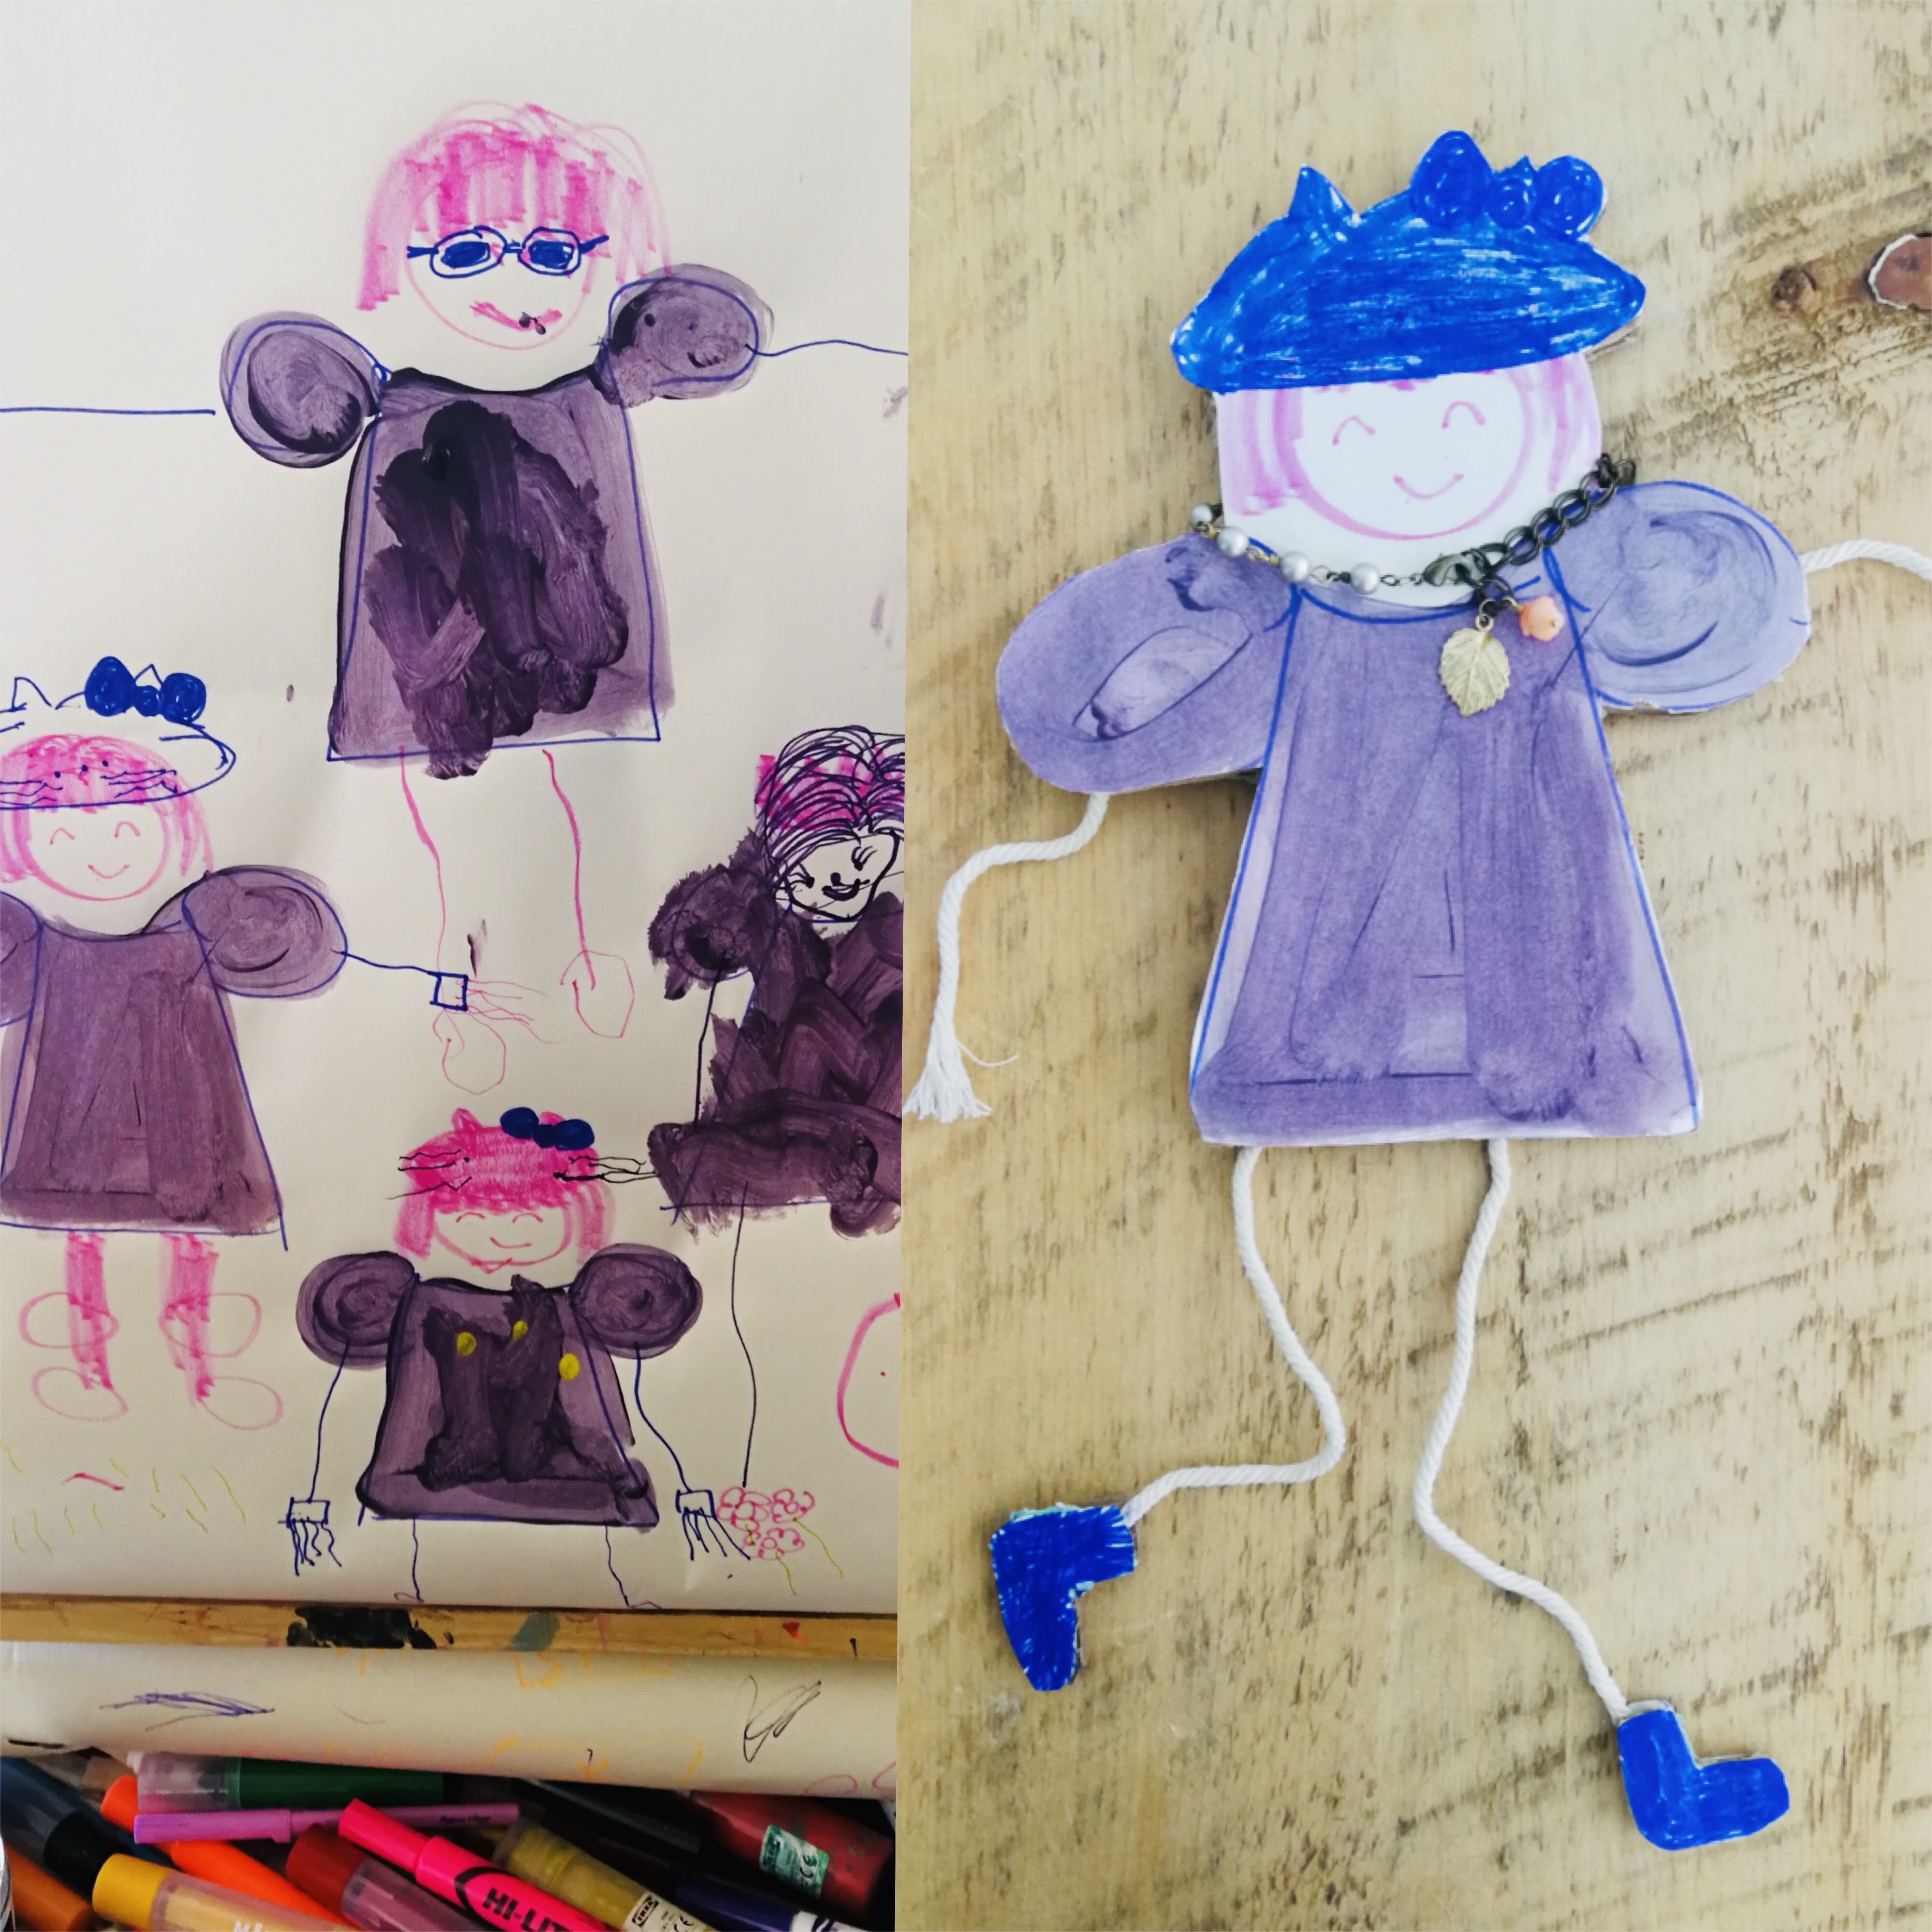
They were looking for the next step and here is my response: Potato Print Landscape
STEP 1
Carve Potatoes
Adults will do this part because it is so much fun: not too big, not too small, but just right for your child to handle. For example, shapes can be like this:
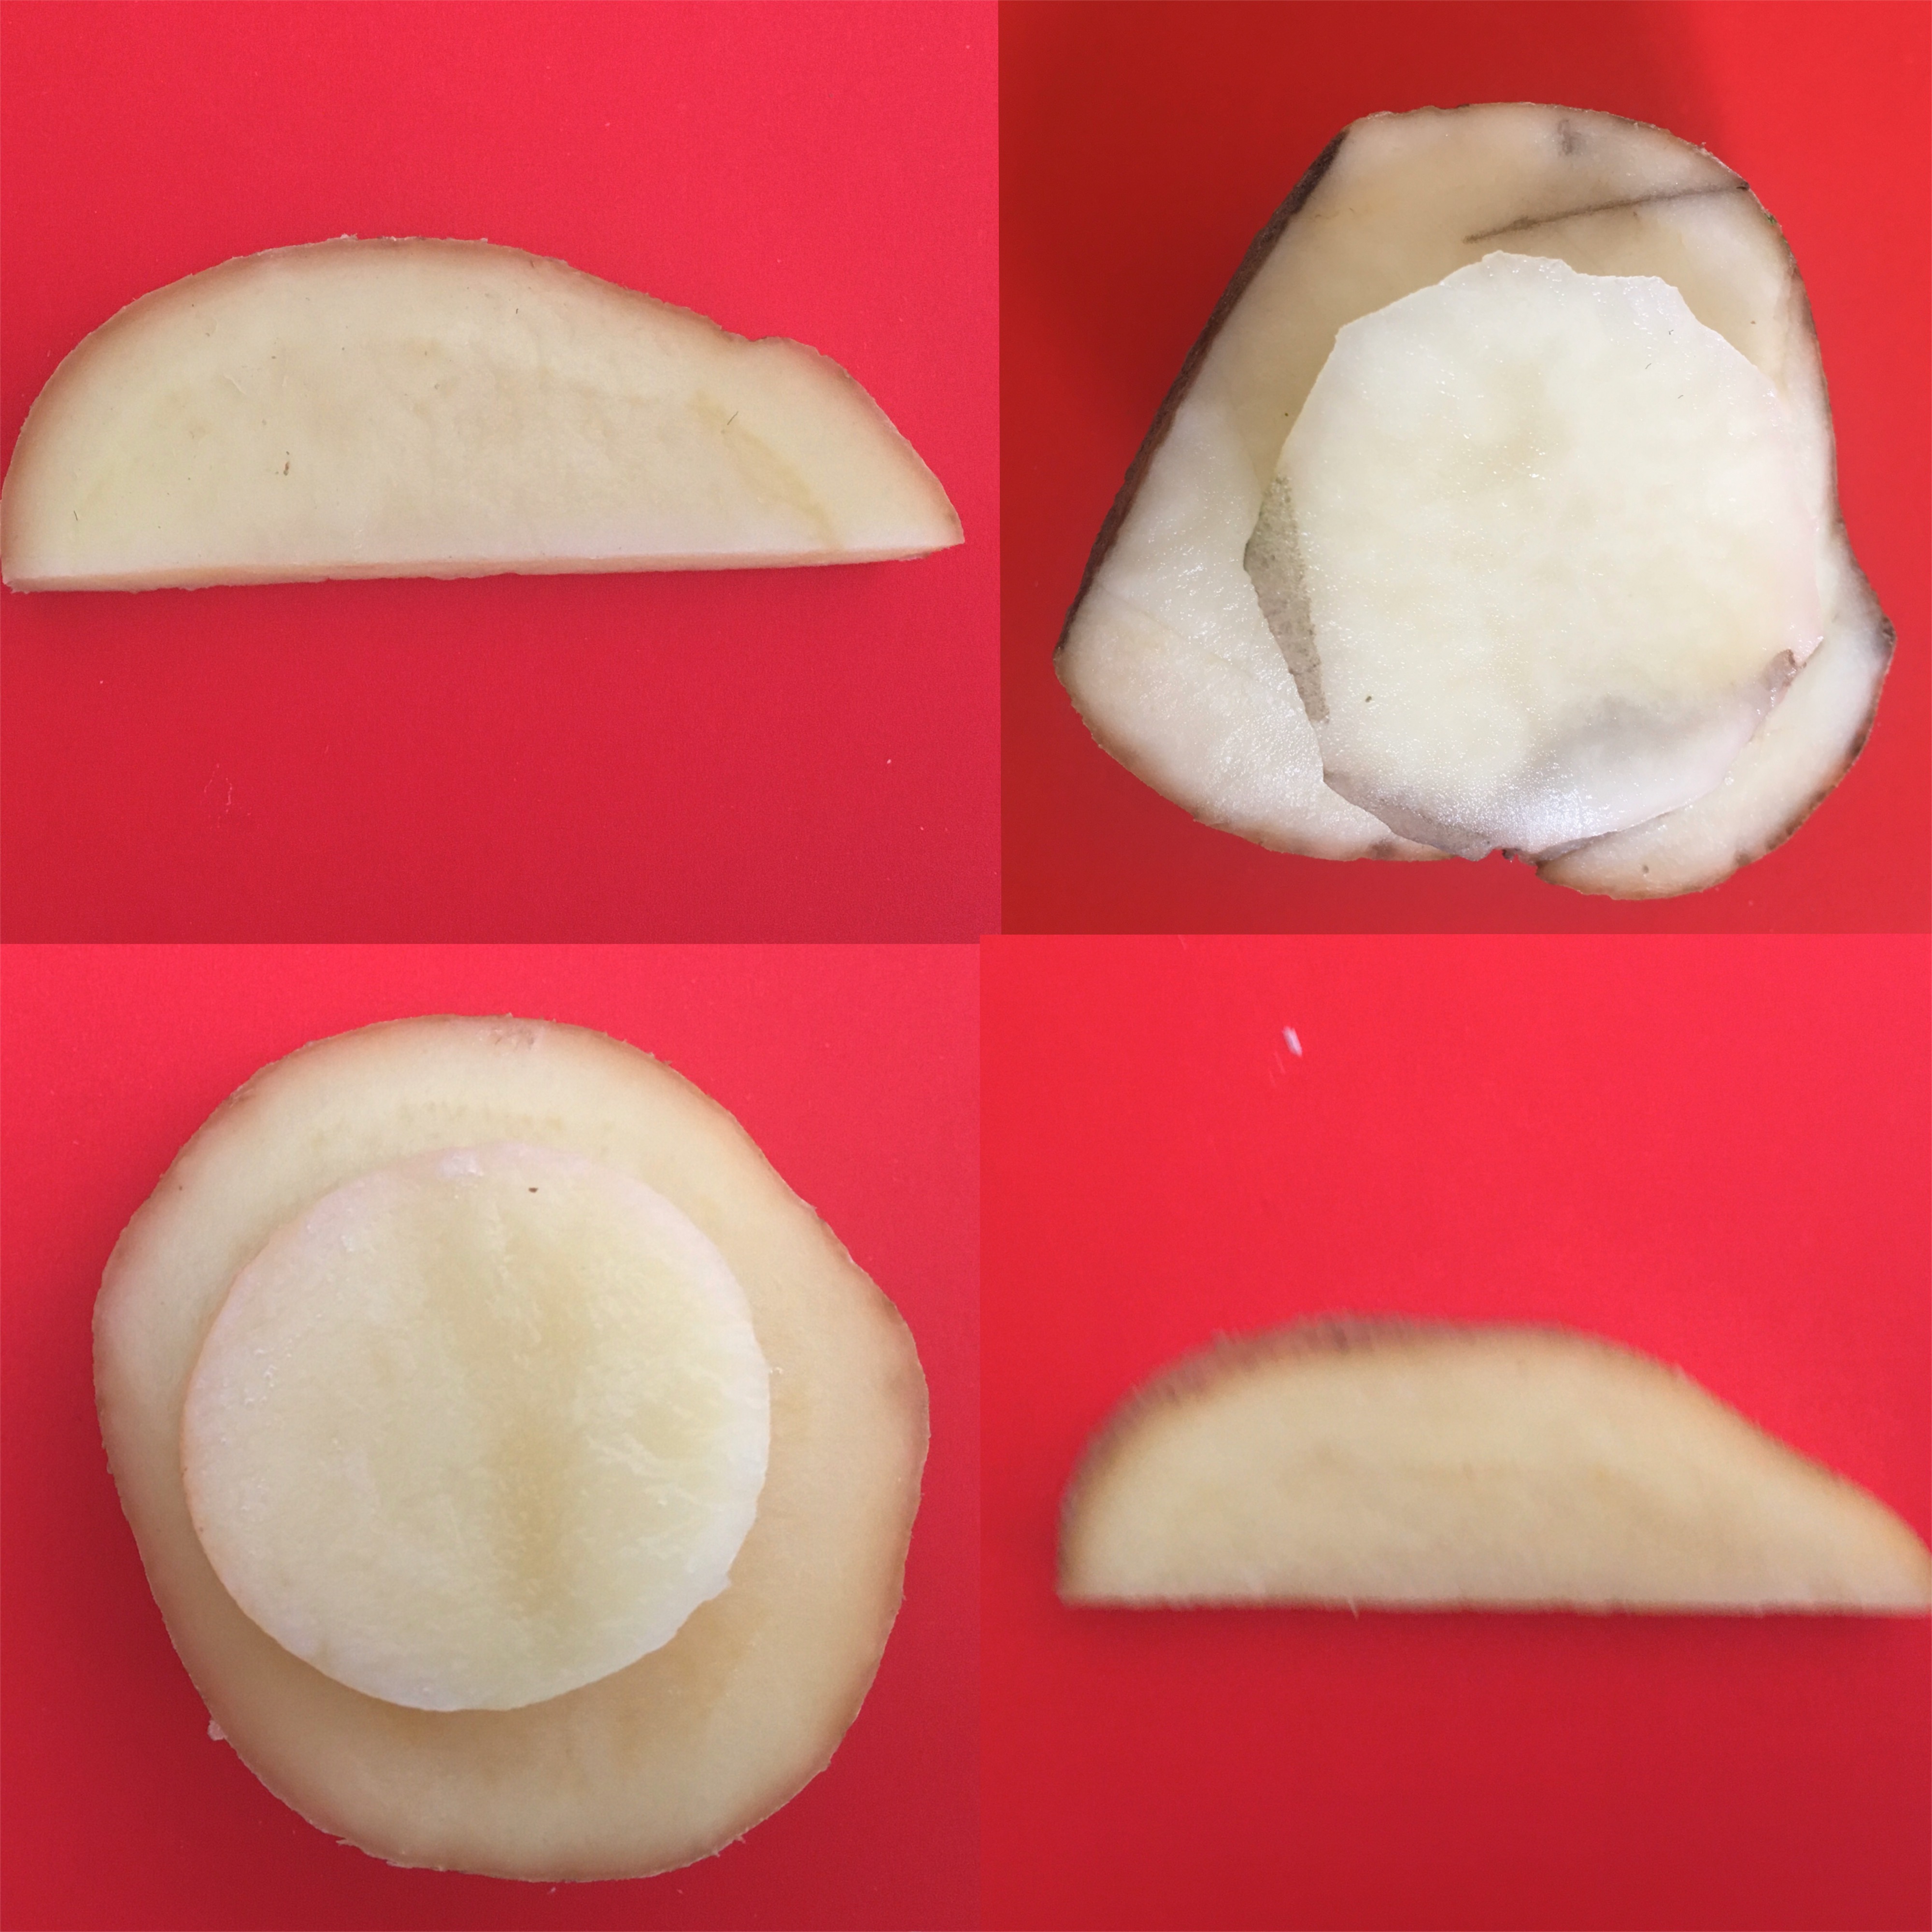
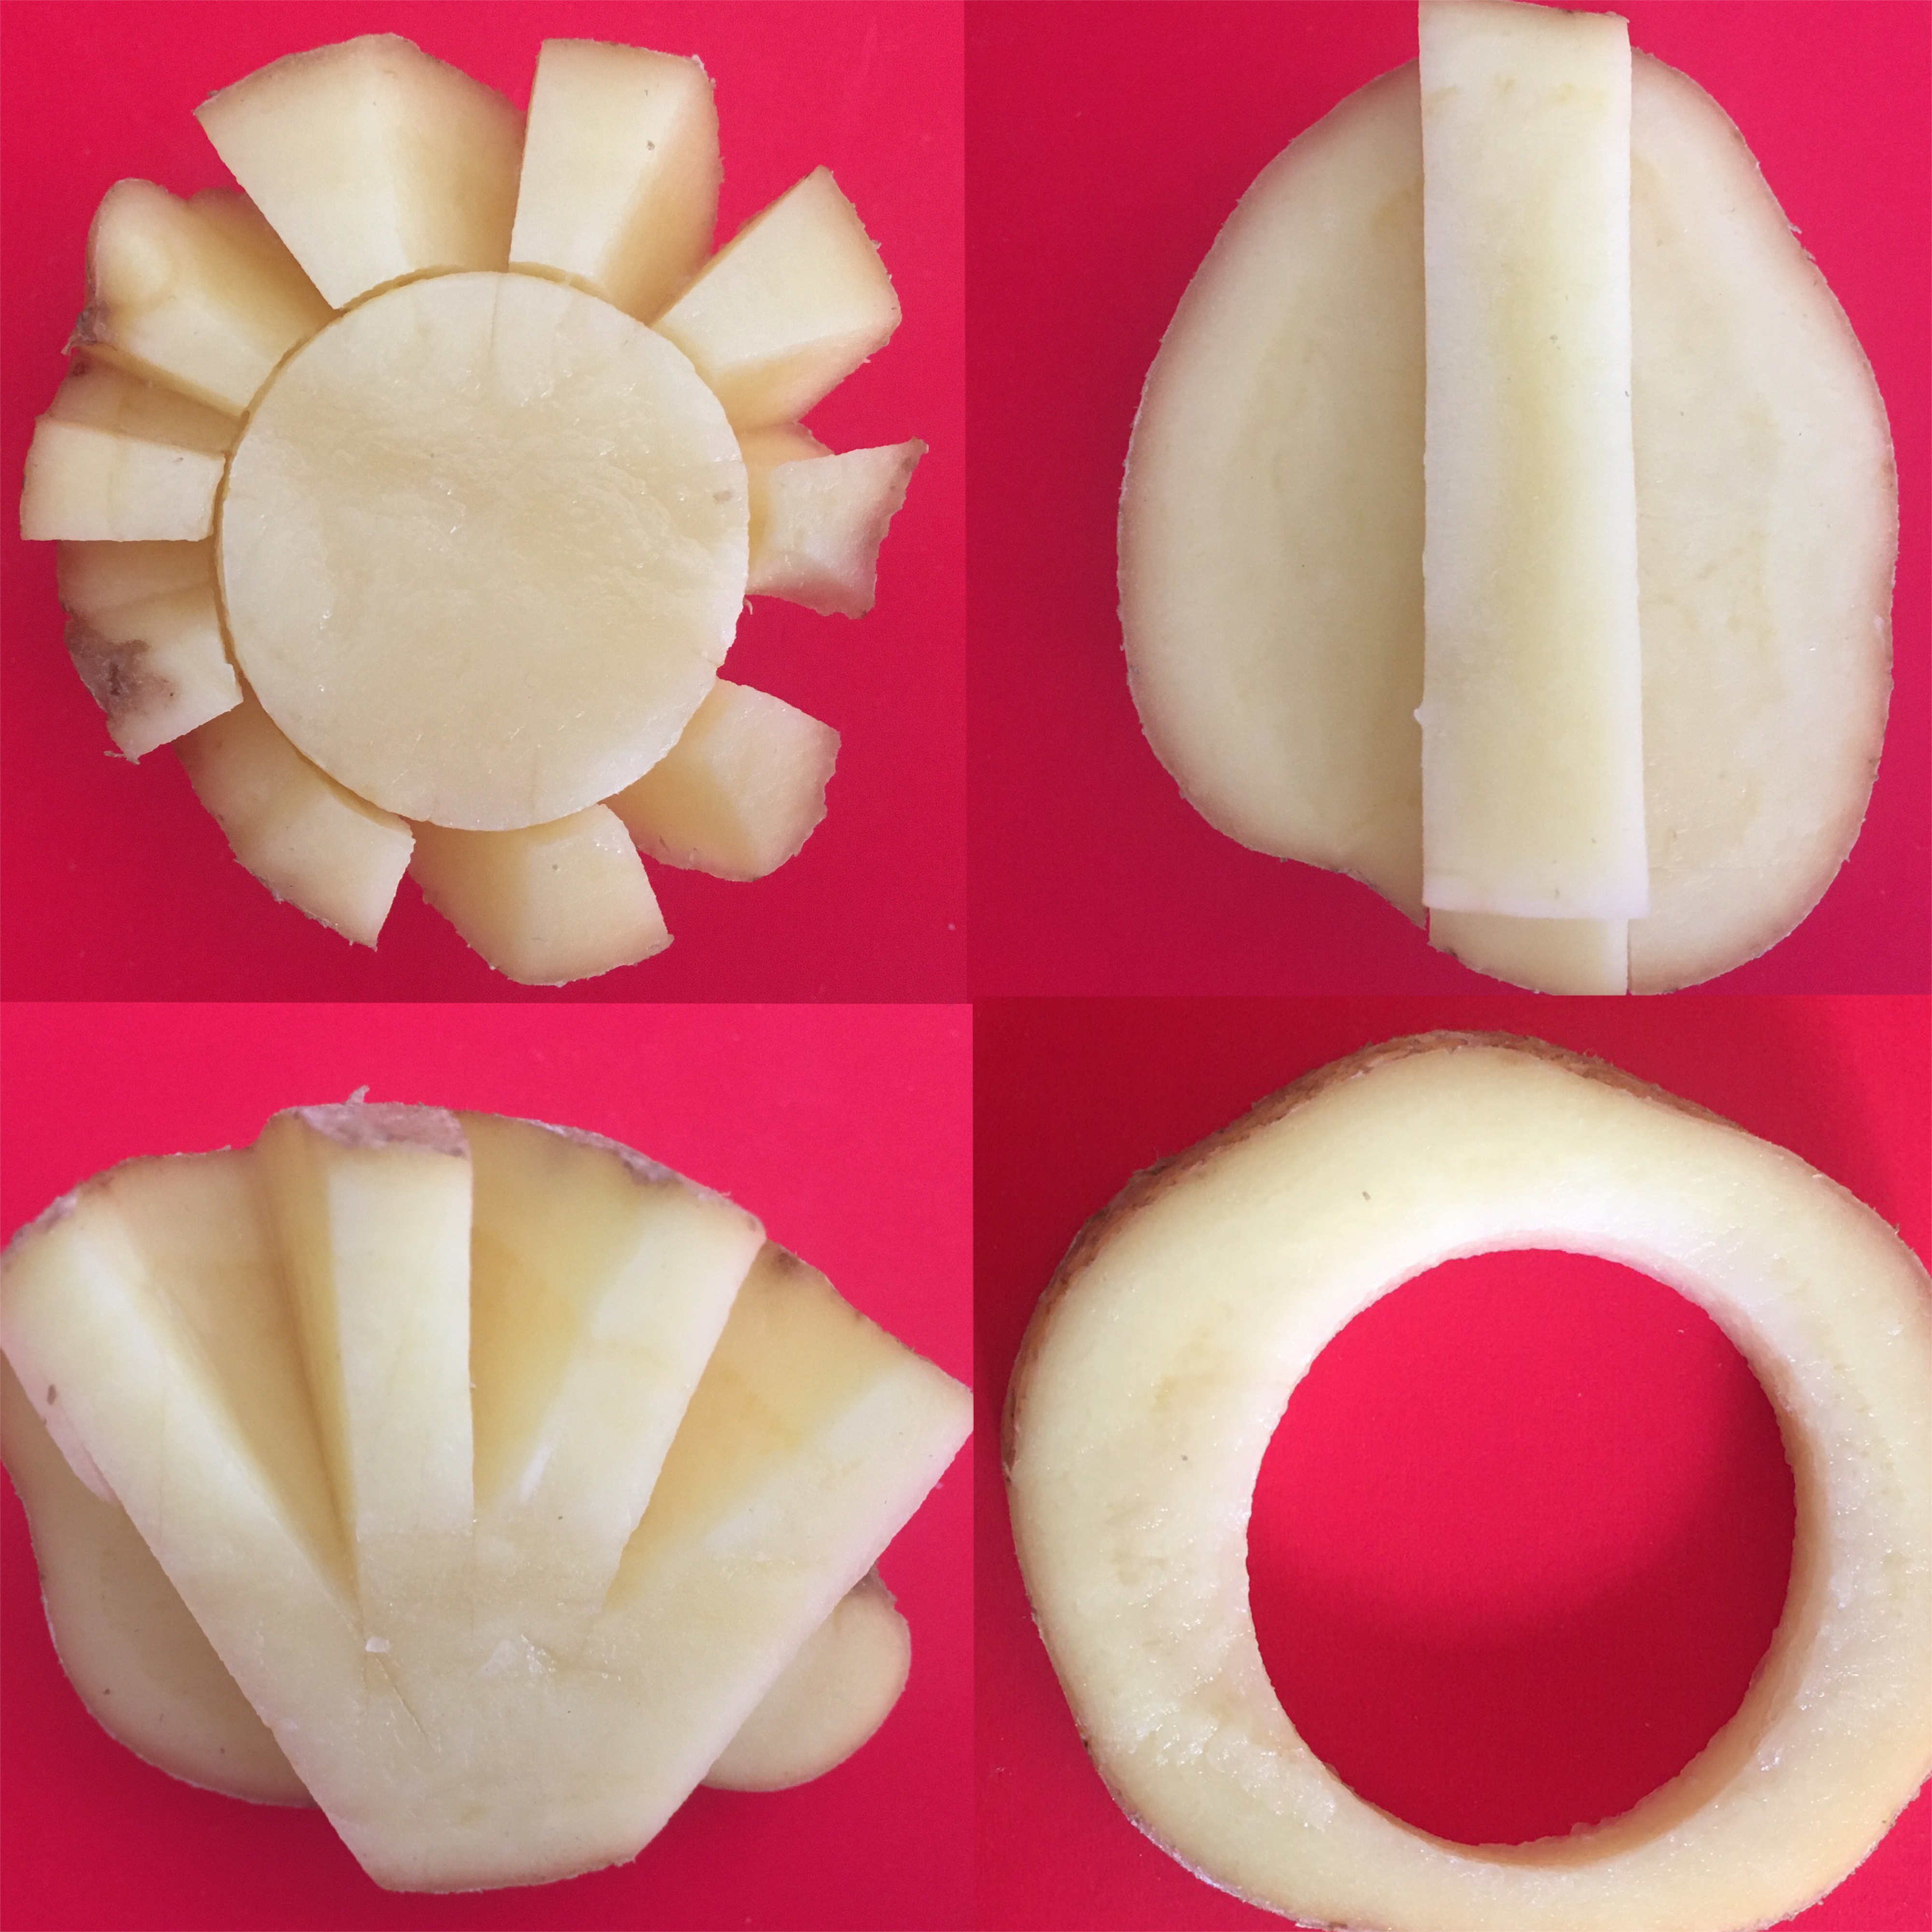
To do circles use wine bottle caps to press into the potato to get that perfect circle shape, I also used a pasta sauce bottle neck for a larger circle
STEP 2
Prepare your workspace
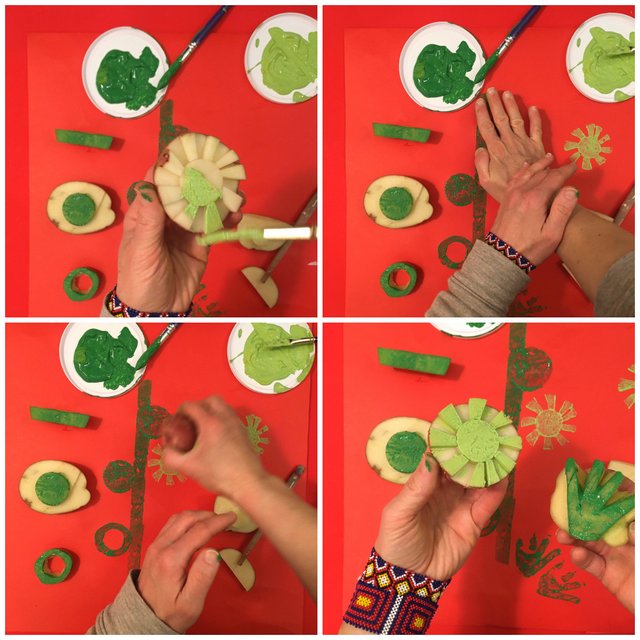
It is best to work on a table. Have two or three colours ready. The choice will depend on the colour of paper you will use. For example: Red paper (darker green and very light green) or yellow paper (blue and red), purple paper (red and white), make paper and colour choices first. Prepare one brush per colour.
STEP 3
Do some tests
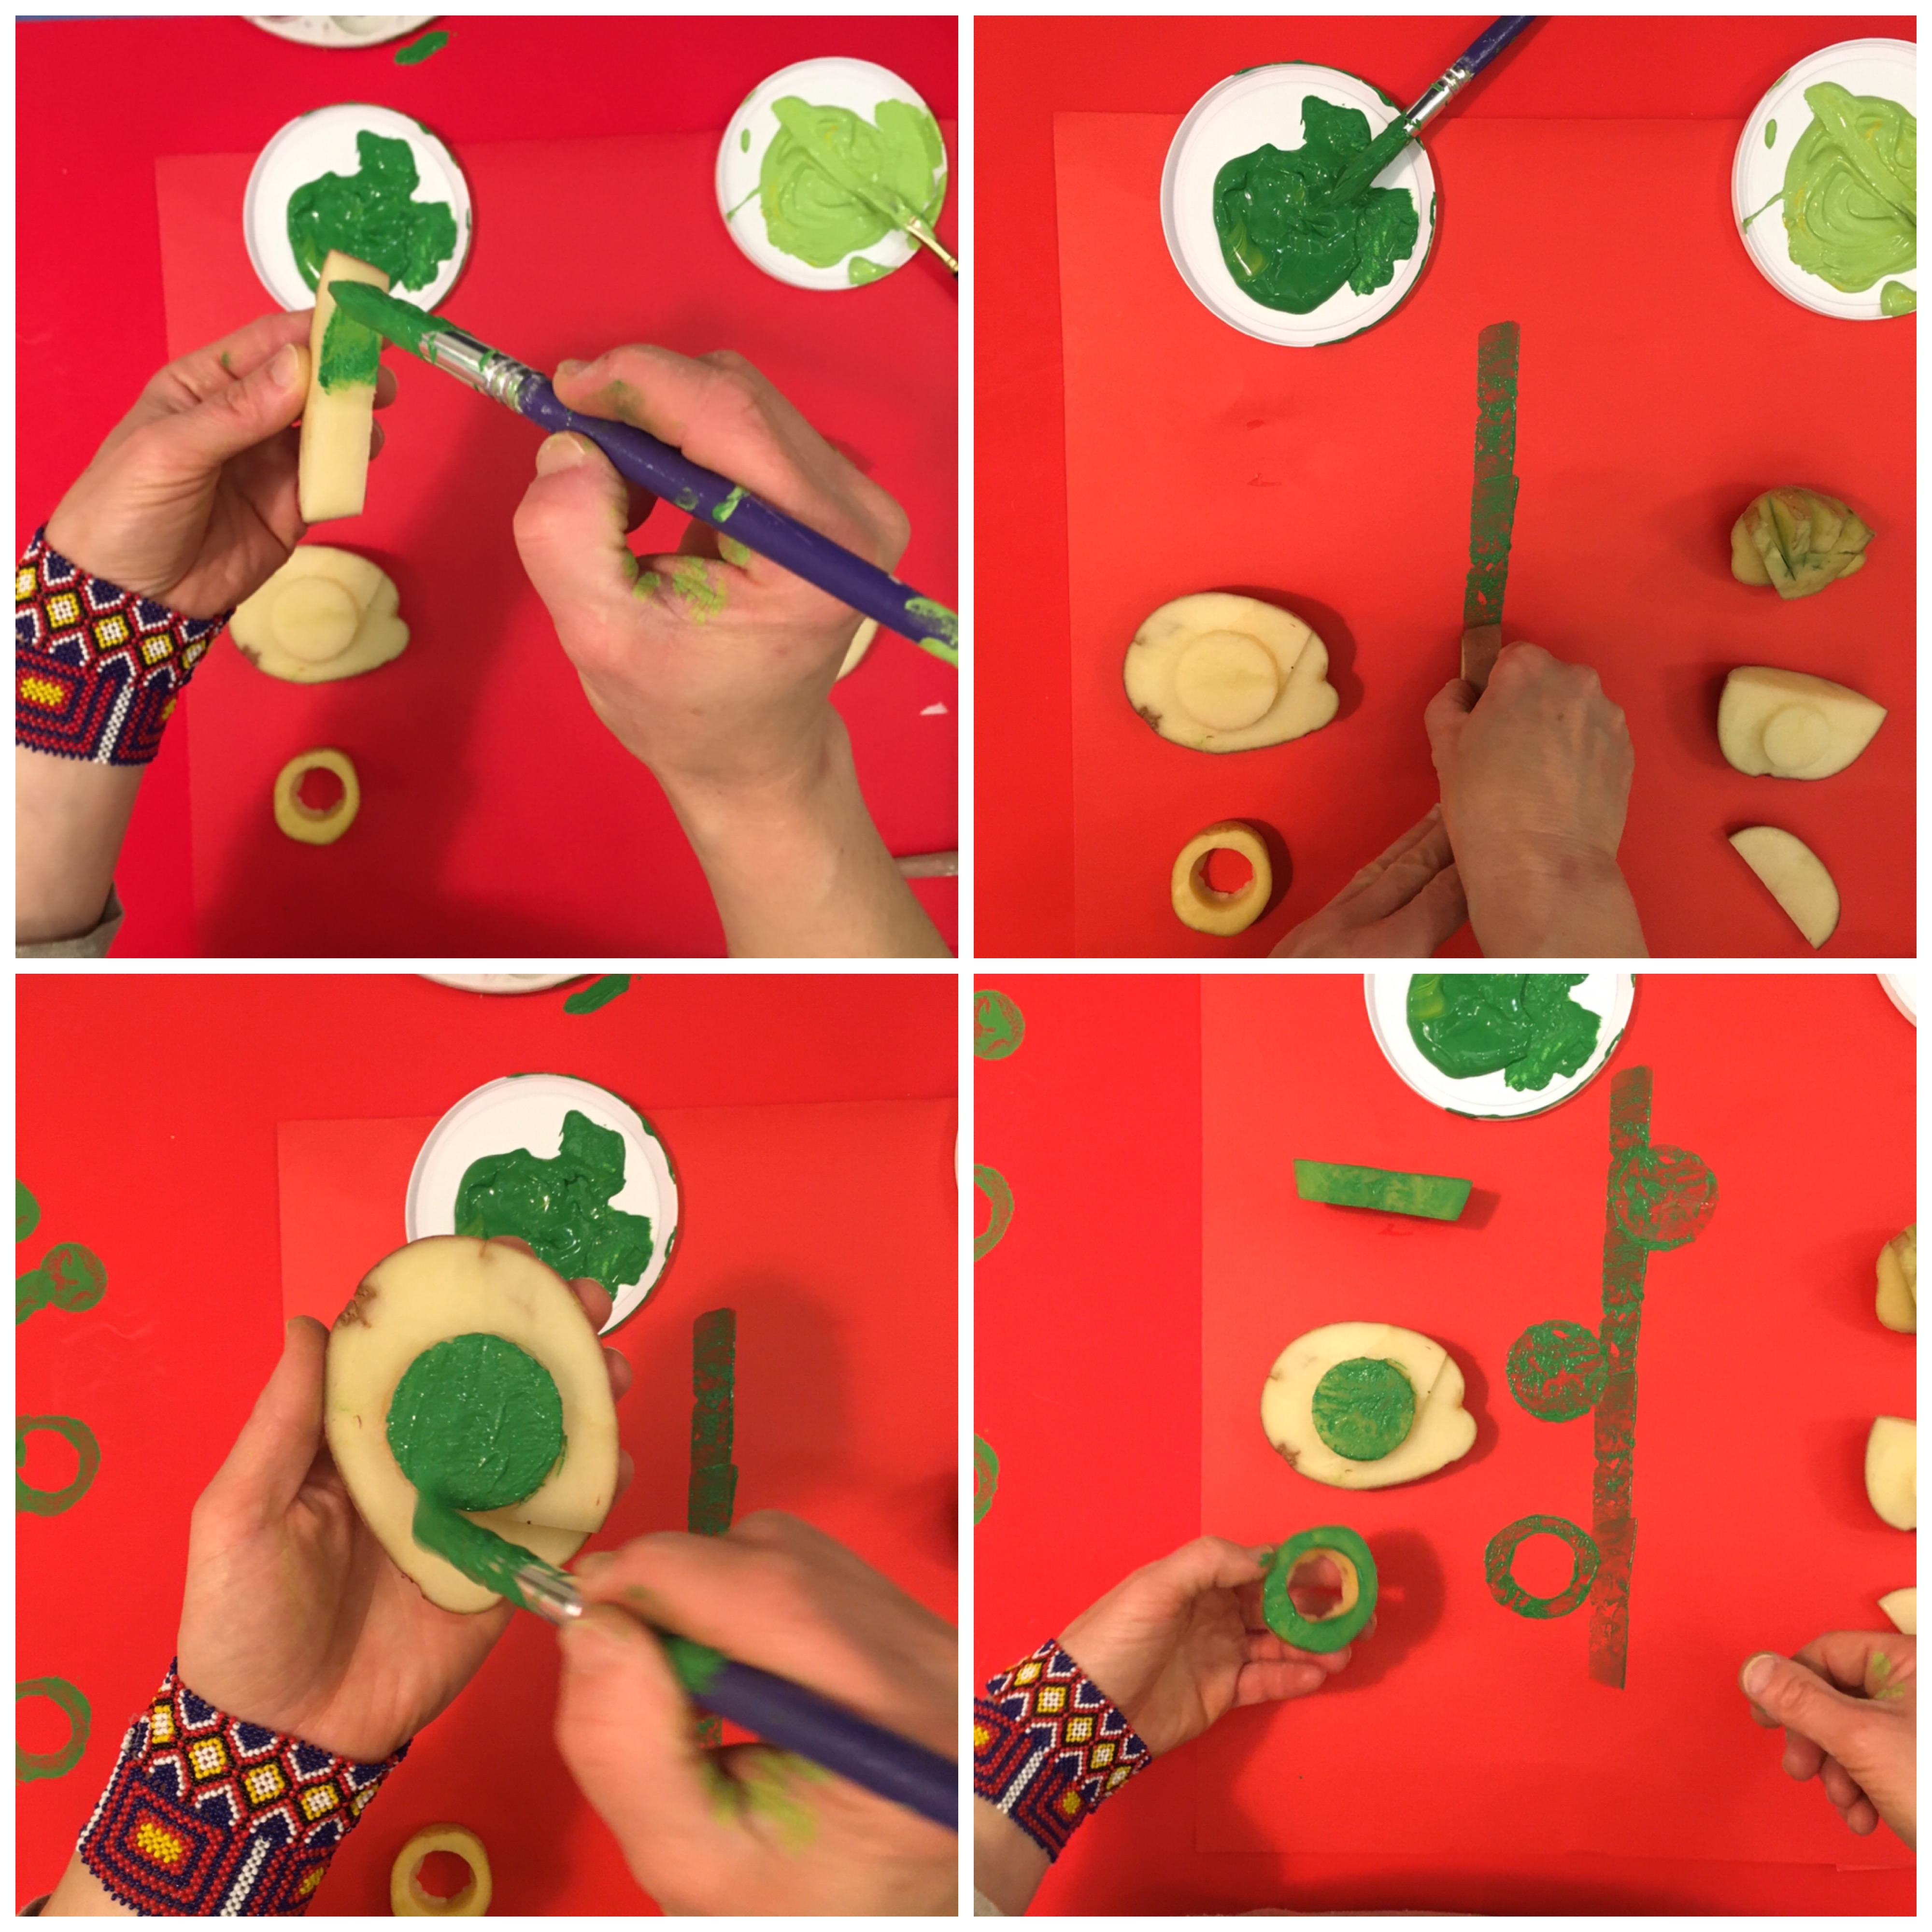
Make sure your potato shapes are completely dry. This is important because moisture waters down paint. Make some tests on smaller paper. Try how much paint to put on the potato shapes, how hard to press and how you will create the shapes that you would like to have in your landscape. Maybe your landscape will be flowers in the fields, or boats on the water, or trees only OR even a city. How will you put your potato shapes together to build your landscape?
STEP 4
Make it
Create your beautiful potato print landscape, take a picture and email it to My Artlab if you like it!
